Solid DNS (Part 2): Pi-hole
![]()
This post is part two of a three part series covering off Bind, pihole and DNS over HTTPS
If you haven’t completed part one, check it out over here: Part 1: DoH using cloudflared
Pi-hole
- Install Pi-hole
Installing Pi-hole is super easy thanks to the script on the Pi-hole website
Just SSH into your server and run this:
curl -sSL https://install.pi-hole.net | bash
It will install all required packages and get your system up and running with Pi-Hole. Run through the installer selecting all defaults (don’t worry we can and will change these later).
- Now lets test it out, to do this simply run:
dig @127.0.0.1 seamoo.se
You should get a valid response, with something that looks similar to this;
; <<>> DiG 9.11.3-1ubuntu1.2-Ubuntu <<>> @127.0.0.1 seamoo.se
; (1 server found)
;; global options: +cmd
;; Got answer:
;; ->>HEADER<<- opcode: QUERY, status: NOERROR, id: 4409
;; flags: qr rd ra; QUERY: 1, ANSWER: 2, AUTHORITY: 0, ADDITIONAL: 1

;; OPT PSEUDOSECTION:
; EDNS: version: 0, flags:; udp: 1452
;; QUESTION SECTION:
;seamoo.se.                     IN      A

;; ANSWER SECTION:
seamoo.se.              300     IN      A       104.24.115.142
seamoo.se.              300     IN      A       104.24.114.142

;; Query time: 51 msec
;; SERVER: 127.0.0.1#53(127.0.0.1)
;; WHEN: Mon Oct 29 05:53:33 UTC 2018
;; MSG SIZE  rcvd: 70
- Configuring Pi-hole
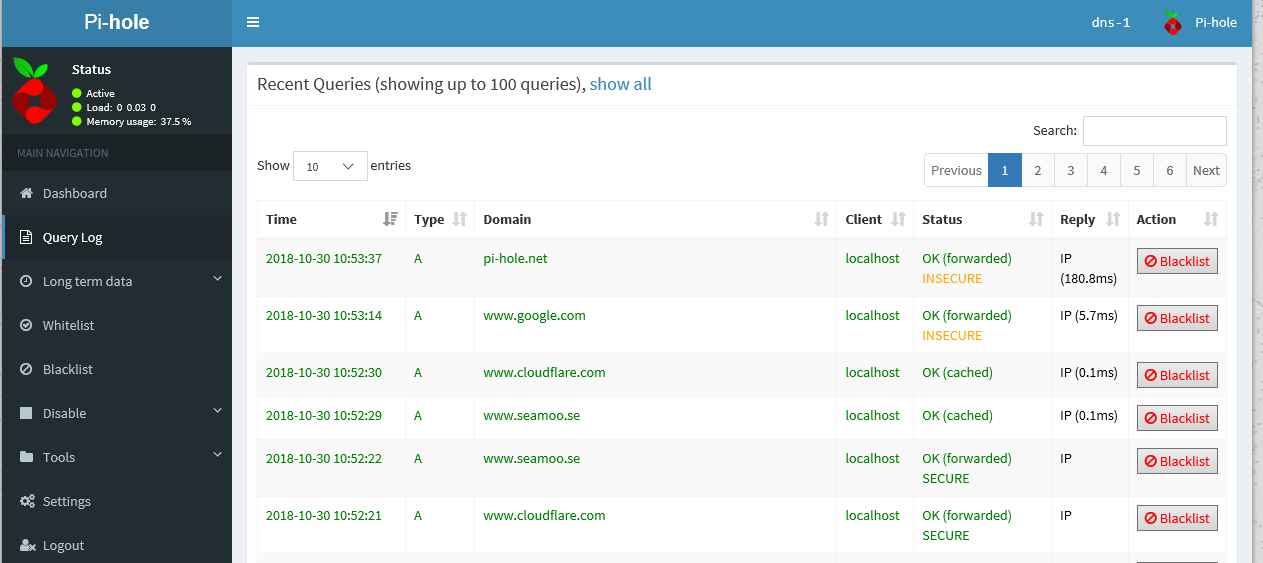
Now that Pi-hole is installed and we have confirmed it is working, lets get to work configuring it. Login the its admin interface by pointing your browser to http://10.152.0.3/admin (remember to substitute my IP with whatever your servers IP is).
Login to the admin interface, if you forgot the admin password, you can reset it by simply typing pihole -a -p on your server.
Once you’ve logged into the admin interface, navigate to Settings > DNS.
• Make sure “Use DNSSEC” is set to Enabled.
• Uncheck all of the “Upstream DNS Servers”
• Add one to “Custom 1 (IPv4) which is” 127.0.0.1#5353
Additional settings you may wish to configure:
- Listen on all interfaces, permit all origins You would need this enabled if your server is located on a different network to your actual clients (like mine, which is over a VPN).
- Never forward non-FQDNs This will be required if you are proceeding to Part 3: BIND. Depending on what your local zones are, you may want to uncheck this.
- Never forward reverse lookups for private IP ranges Again, depending on your setup you may want to configure PTR records for locally configured networks, if you want to do this be sure to uncheck this box.
My personal experience is to leave the “Conditional Forwarding” box empty. The Pi-hole devs added this capability in August 2018, but it only has room (at the time of writing) for one entry. Instead we configure these manually (will show you how to do that in Part 3: BIND).
After making the above changes, while the Pi-hole interface generally triggers a reload in most cases, I found at times it doesn’t always work as intended. You can restart pihole using two different commands:
pihole restartdns
/etc/init.d/pihole-FTL restart
Another thing to note, and again this is just personal experience. I actually don’t use the blocking capability of Pi-hole. Its a great function, I just don’t really see the need for myself. When I lived in a share house I was constantly getting complaints that housemates couldn’t watch re-runs of The Bachelorette…. I didn’t really see the problem….. but some of the block lists may need tweaking before you find the right balance.
You can disable the blocking ability quite easily by selecting “Disable” in the left hand menu and hitting the time period you want to block it for.
At this stage you could happily leave things as they are. You now have Pi-hole running as a resolver with some very cool analytics, which is forwarding requests to cloudflared, and then using DNS over HTTPS to hit 1.1.1.1/1.0.0.1.
DNS requests from your clients TO your Pi-hole server are still going to be insecure, but hopefully these requests are over a known trusted network (ie your LAN). If you want to now add some authoritative zones using BIND, head over to Part 3: BIND).