Unifi controller on GCP (Part 3) SSL Certificates
Ok so now that you’ve setup your controller and have its dynamic IP updating automatically you are probably wondering how you can make access to it a little easier.
During the installation of your controller you may have noticed you can link it with your Ubnt account. This is certainly an easy way to gain remote access to your controller, but it does mean linking the accounts. Lets say for whatever reason you didn’t want to do that, and instead wanted to be able to access your controller directly over the web using a browser. By default, the controller will run on port 8443 and also have a self signed certificate. There are two “problems” with this.
- If you’re behind a half restrictive corporate firewall, access to non-standard ports like 8443 may be blocked
- Nobody likes seeing certificate warnings (again, corporate environments may actually block access to sites with dodgy certificates).
To solve this, we are going to proxy SSL connections to your controller and then setup LetsEncrypt for those proxied connections. While you can certainly install a certificate directly into the controller itself, and there are various scripts available on the web that show you how to do this, my experience has been that they often break with new releases and can prove to be quite cumbersome. In addition, I try not to mess with the controllers configuration, instead using other tools to achieve the desired outcome.
So lets get started, I am assuming you’ve got your controller installed and have at least logged into it. I am also assuming you will be accessing this controller from basically “anywhere” on the web. You may or may not have devices adopted, it doesn’t actually matter at this stage. What does matter is that you have allowed TCP port 80 (HTTP) and TCP port 443 (HTTPS) into your controller from “anywhere”
- Jump into your controller and execute the following which will;
- Install nginx & software-properties-common which allows you to manage independent software
- Add the certbot repo
- Update apt
- Install certbox nginx plugin
apt-get install -y nginx software-properties-common
add-apt-repository -y ppa:certbot/certbot
apt-get update
apt-get install -y python-certbot-nginx
After the last command is run, it will ask you a few questions to configure timezone data, answer accordingly.
Side note for CAA: Before you go off and configure LetsEncrypt/certbot, if you have CAA configured for your domain be sure to set it up to allow letsencrypt.org. If you dont know what this is, chances are its not setup and you can ignore this side note.
- Configure nginx
Before kicking off a certificate install, configure nginx so it responds on the desired hostname. To do this edit the file /etc/nginx/sites-enabled/default and find this line:
server_name _;
Chang it to the desired hostname of your controller, so mine reads:
server_name controller.seamoo.se;
- Reload nginx
systemctl reload nginx
- Generate & install LetsEncrypt certificate
This is nice and easy using certbot. Simply type the following command:
certbot --nginx -d my-controller.example.com
So mine looks like this:
certbot --nginx -d controller.seamoo.se
The output looks like this:
certbot --nginx -d controller.seamoo.se
Saving debug log to /var/log/letsencrypt/letsencrypt.log
Plugins selected: Authenticator nginx, Installer nginx
Enter email address (used for urgent renewal and security notices) (Enter 'c' to
cancel): [email protected]
Starting new HTTPS connection (1): acme-v02.api.letsencrypt.org

- - - - - - - - - - - - - - - - - - - - - - - - - - - - - - - - - - - - - - - -
Please read the Terms of Service at
https://letsencrypt.org/documents/LE-SA-v1.2-November-15-2017.pdf. You must
agree in order to register with the ACME server at
https://acme-v02.api.letsencrypt.org/directory
- - - - - - - - - - - - - - - - - - - - - - - - - - - - - - - - - - - - - - - -
(A)gree/(C)ancel: A

- - - - - - - - - - - - - - - - - - - - - - - - - - - - - - - - - - - - - - - -
Would you be willing to share your email address with the Electronic Frontier
Foundation, a founding partner of the Let's Encrypt project and the non-profit
organization that develops Certbot? We'd like to send you email about our work
encrypting the web, EFF news, campaigns, and ways to support digital freedom.
- - - - - - - - - - - - - - - - - - - - - - - - - - - - - - - - - - - - - - - -
(Y)es/(N)o: No
Obtaining a new certificate
Performing the following challenges:
http-01 challenge for controller.seamoo.se
Waiting for verification...
Cleaning up challenges
Deploying Certificate to VirtualHost /etc/nginx/sites-enabled/default

Please choose whether or not to redirect HTTP traffic to HTTPS, removing HTTP access.
- - - - - - - - - - - - - - - - - - - - - - - - - - - - - - - - - - - - - - - -
1: No redirect - Make no further changes to the webserver configuration.
2: Redirect - Make all requests redirect to secure HTTPS access. Choose this for
new sites, or if you're confident your site works on HTTPS. You can undo this
change by editing your web server's configuration.
- - - - - - - - - - - - - - - - - - - - - - - - - - - - - - - - - - - - - - - -
Select the appropriate number [1-2] then [enter] (press 'c' to cancel): 2
Redirecting all traffic on port 80 to ssl in /etc/nginx/sites-enabled/default

- - - - - - - - - - - - - - - - - - - - - - - - - - - - - - - - - - - - - - - -
Congratulations! You have successfully enabled https://controller.seamoo.se

You should test your configuration at:
https://www.ssllabs.com/ssltest/analyze.html?d=controller.seamoo.se
- - - - - - - - - - - - - - - - - - - - - - - - - - - - - - - - - - - - - - - -

IMPORTANT NOTES:
 - Congratulations! Your certificate and chain have been saved at:
   /etc/letsencrypt/live/controller.seamoo.se/fullchain.pem
   Your key file has been saved at:
   /etc/letsencrypt/live/controller.seamoo.se/privkey.pem
   Your cert will expire on 2019-02-11. To obtain a new or tweaked
   version of this certificate in the future, simply run certbot again
   with the "certonly" option. To non-interactively renew *all* of
   your certificates, run "certbot renew"
 - Your account credentials have been saved in your Certbot
   configuration directory at /etc/letsencrypt. You should make a
   secure backup of this folder now. This configuration directory will
   also contain certificates and private keys obtained by Certbot so
   making regular backups of this folder is ideal.
 - If you like Certbot, please consider supporting our work by:

   Donating to ISRG / Let's Encrypt:   https://letsencrypt.org/donate
   Donating to EFF:                    https://eff.org/donate-le
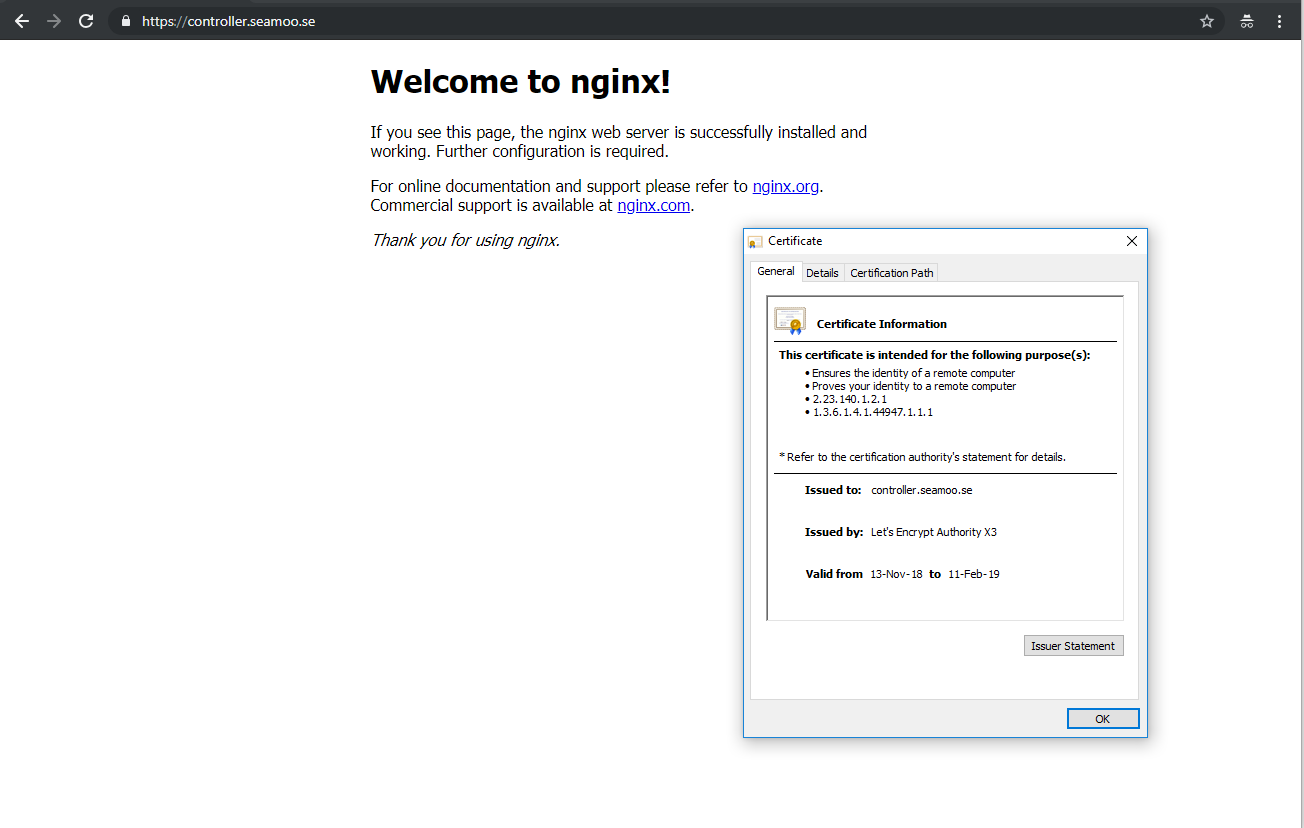
- Test!
You should now be able to browse to your controller using HTTPS and get a valid certificate (with the default nginx page):
- Lets proxy those connections!
So if you take a look at /etc/nginx/sites-enabled/default again you may notice it has been populated with ssl options, which is exactly what we wanted. Before you rush off an figure out how to automate this, there is no need! Certbot takes care of this itself, take a look in /etc/cron.d/ if you don’t believe me. You can test this automated process to make sure its going to work by running
certbot renew --dry-run
Open up /etc/nginx/sites-enabled/default and populate it with the required proxy configuration so we can tell it to send requests to your controller. The important bits are under location / { so mine looks like this:
        location / {
      proxy_set_header        Host $host;
      proxy_set_header        X-Real-IP $remote_addr;
      proxy_set_header        X-Forwarded-For $proxy_add_x_forwarded_for;
      proxy_set_header        X-Forwarded-Proto $scheme;
      proxy_pass          https://localhost:8443;
      proxy_read_timeout  120;
      proxy_redirect      http://localhost:8443 https://controller.seamoo.se;

        }

        location /wss/ {
      proxy_pass https://127.0.0.1:8443;
      proxy_http_version 1.1;
      proxy_set_header Upgrade "websocket";
      proxy_set_header Connection "upgrade";
}
    add_header Strict-Transport-Security 'max-age=31536000; includeSubDomains; preload';
The second section there for “/wss/” is for web sockets which is required for the controller to function correctly.
The header I add (Strict-Transport-Security) is because I like all my sites to be SSL enforced (you can read more about it here and here
Make sure you change the proxy_redirect section so it reflects your controllers DNS name :-)
Following this, run nginx -t for good measure to see if you made any typos. If all is well, you can simply type
systemctl reload nginx
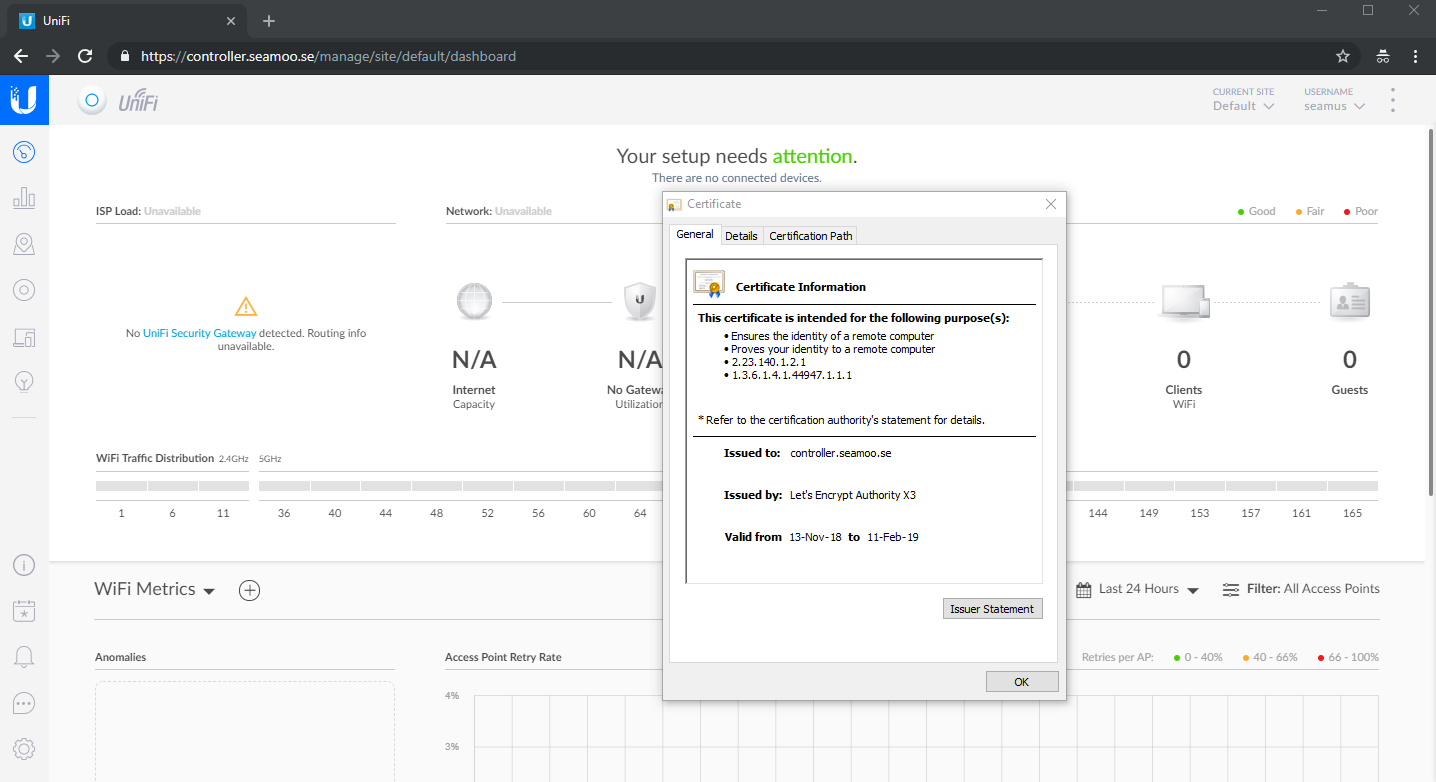
That will reload nginx, and you should now be able to browse to your controllers DNS name on HTTPS!