Unifi controller on GCP (Part 3, alternative) (Cloudflare Spectrum)
![]()
So you may have just been reading Part 3 of my guide to running Unifi controller in GCP, perhaps you’re looking for an alternative.
Something that has been in the works for a while is Cloudflare Spectrum
The reason this differs from other Cloudflare products is that it allows you to specify an origin port, and doesn’t require running any additional software on your controller. So let’s get cracking to see how we can make use of this awesome feature.
I will make a few assumptions here;
- You have a working controller running in GCP (or any public cloud for that matter)
- Your controller has a public IP and it is STATIC! (not this differs from my previous articles, but a static IP is required in this scenario)
- You have a Cloudflare account
Before we get started in Cloudflare, the first thing you need to do is make sure Cloudflare can reach your controller. Assuming you are running a standard install, your controllers interface will respond on TCP port 8443. In GCP (or your preferred public cloud) you will need to configure the firewall rules for your instance/network so that it allows in the Cloudflare network.
The list of subnets you need to add can be found here. Allow incoming TCP connections on port 8443 from each of those ranges to your controller instance. If you also have a local firewall running (e.g. iptables) be sure to allow them all there as well.
Configure Spectrum
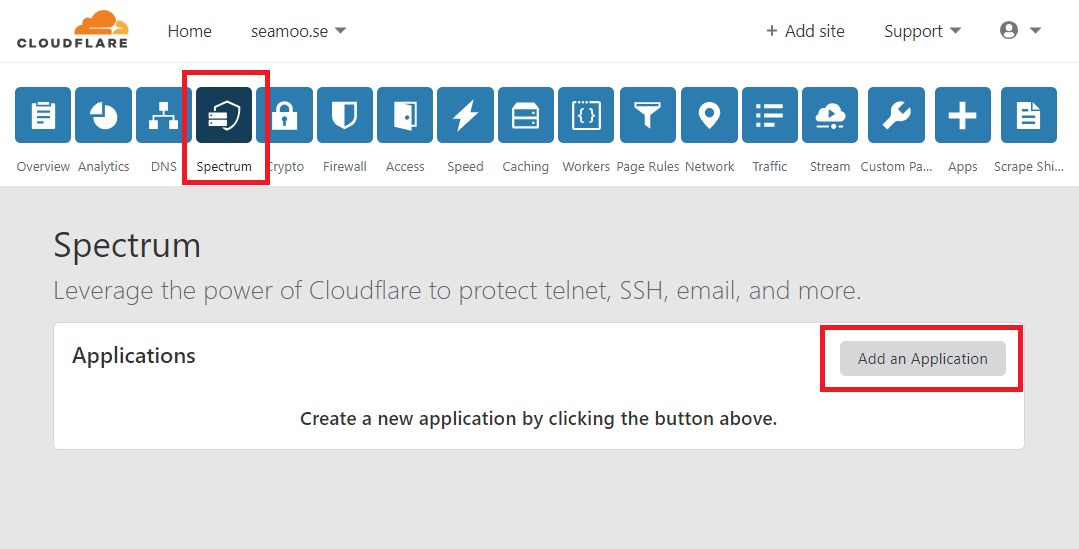
Ok so now that you’ve allowed incoming connections from Cloudflare, navigate to your Cloudflare dashboard and select the domain you wish to proxy. Then select Spectrum from the list of options, followed by Add Application
Fill out the configuration of Spectrum with the required settings as per the guide below, making sure the Origin IP is the static, public IP if your controller.
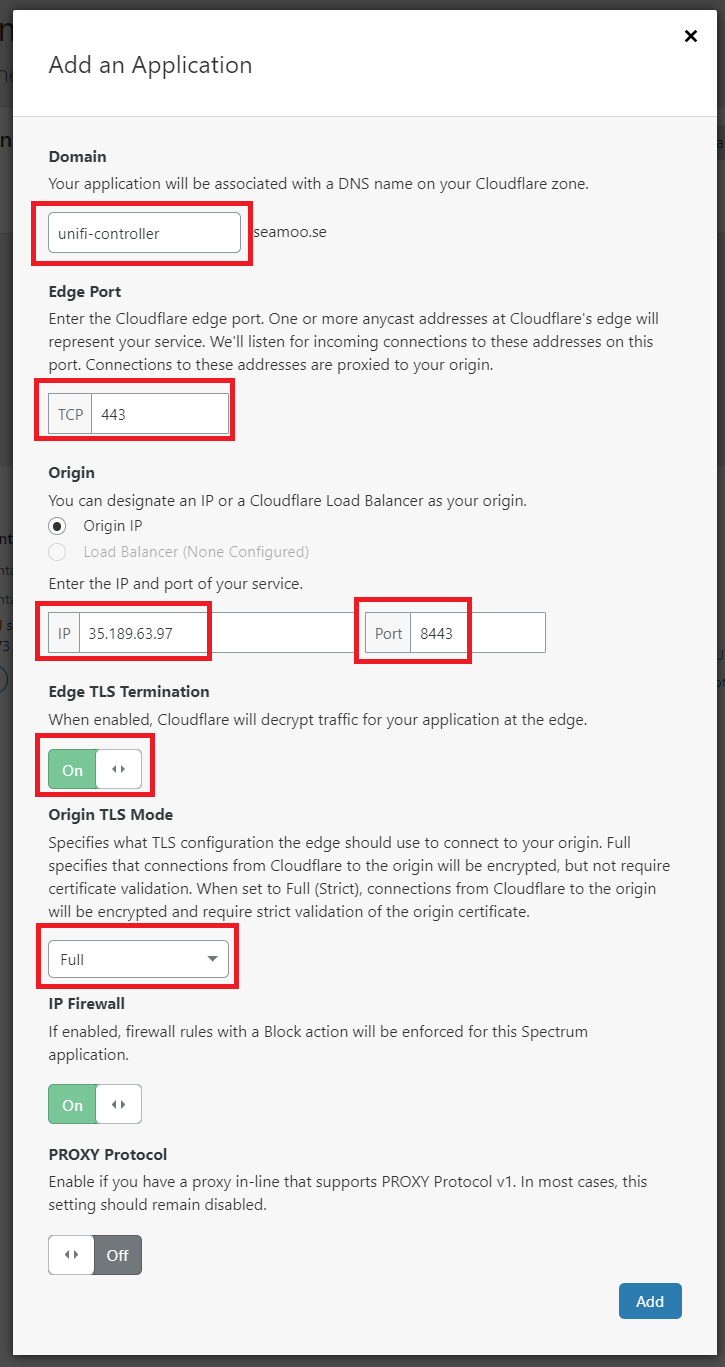
IMPORTANT::Make sure you use port 8443 as the origin port and most importantly, ensure Edge TLS Termination is ENABLED and set to FULL. You must make sure it is set to Enabled, otherwise you will get an SSL warning when you attempt to visit the URL. You also must set it to Full otherwise Cloudflare will expect unencrypted traffic from your controller, which it isn’t. Don’t select Full (Strict) unless you have a working, valid SSL certificate installed on your controller (I haven’t covered that yet, so just use Full for now).
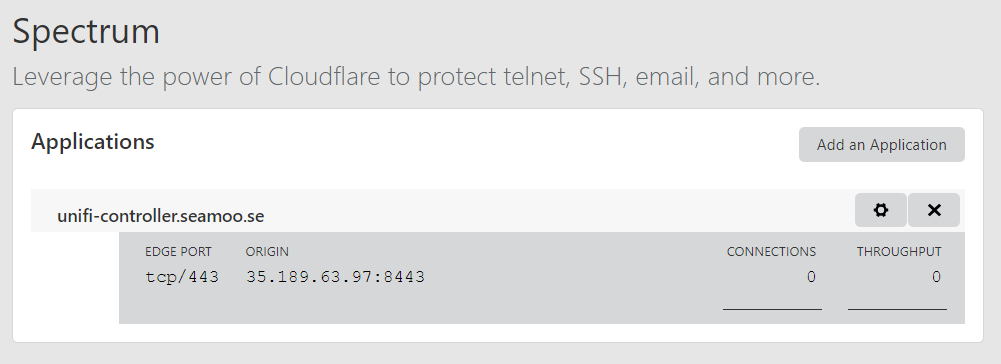
Once finished, simply hit Add and you should see your application has now been created:
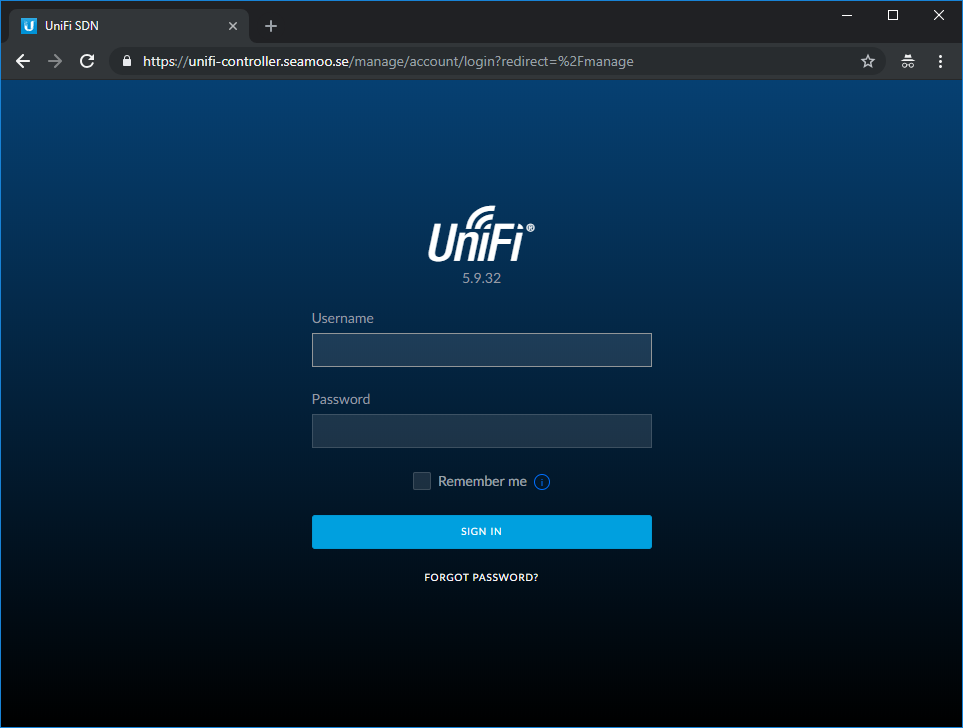
And now you can browse to your controller via Cloudflare, using a valid SSL and protected by Cloudflare’s DDoS network: